What to expect: cold batteries and winter sun
Cold affects every lithium battery, whether it's in a phone, a car or a bird feeder. The chemical reactions that release energy slow down, so a battery can't deliver as much of its charge. If your Birdbuddy's battery seems to drain faster in December than it did in October, this is why. Your camera isn't failing.
Birdbuddy is built to handle it. The camera keeps working in temperatures as low as -20°F, even -30°F. It just won't last as long on a single charge as it does in mild weather.
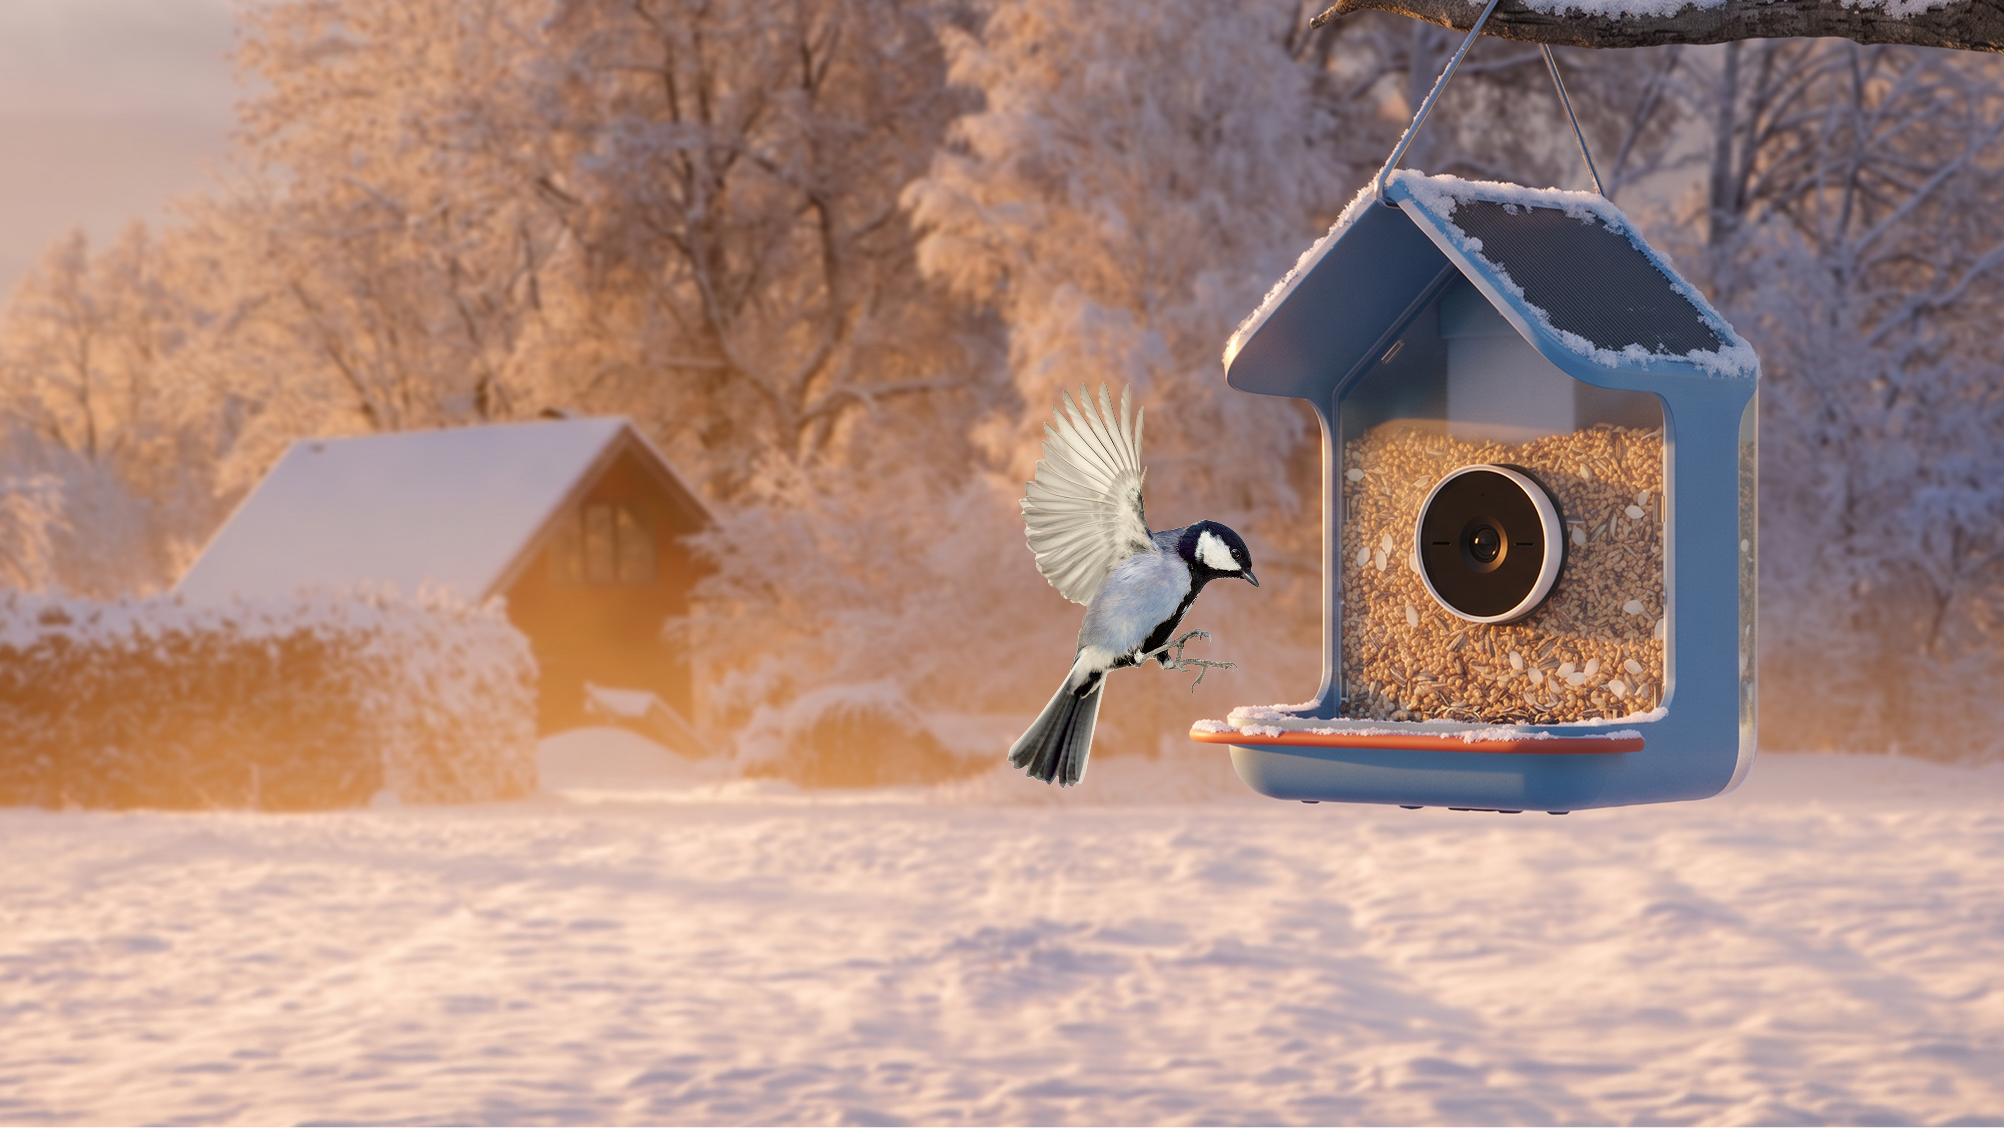
Solar charging also gets harder in winter:
- Shorter days mean fewer hours of charging.
- The sun sits lower in the sky from about October through February. A spot that got full afternoon sun in July may now be shaded by your roof, a fence or a neighbor's house.
- More clouds in much of the country mean less light reaches the panel.
Independent reviewers have measured a clear drop in how much charge solar roofs provide on winter days. That's not surprising, and it happens with every small solar panel, not just ours. Winter is when your camera uses the most power and when the sun gives the least, so it helps to plan for it.
Winter prep checklist
1. Check your spot for winter sun
This is the most useful step, and it's best done before the first snow. Look at your Birdbuddy's location at midday and again in the afternoon, and check whether the solar roof still gets direct sun now that the sun is lower.
If shadows now cover the panel for much of the day, try moving the feeder a few feet or turning the roof toward the south if you're in the Northern Hemisphere. Before you move it, make sure the new spot still works for everything else: it's safe from window strikes, has cover nearby and stays out of squirrels' jumping range.
2. Keep the solar roof clear
Snow, ice and frost block sunlight, and even partial coverage reduces charging. After a snowfall, gently brush the roof clear with a soft brush or gloved hand. Don't scrape ice off the panel. Let it melt or carefully bring the roof indoors to thaw.
3. Charge it yourself in the darkest weeks
In most of the US, especially the northern Midwest and Northeast, solar alone may not keep your battery full from December through February. That's normal. Keep an eye on the battery level in the app, and plan to bring the camera indoors to charge now and then, especially after several cloudy days.
When you bring it in from the cold:
- Let it warm up first. Leave the camera at room temperature for a while before plugging it in. Lithium batteries charge best when they're not cold, and waiting also lets any condensation dry.
- Be gentle with a frozen USB-C connector. If the charging cable or port is frozen, don't force it. Bring it inside and wait for it to thaw before unplugging.
4. Keep the camera lens clear
Frost, snowflakes and condensation on the lens can make even a cardinal look blurry. Check the lens after cold nights and snowfall, and wipe it gently with a soft microfiber cloth. Don't use hot water, de-icing sprays or anything rough. Let frozen buildup melt instead of scraping it off.
5. Thaw before you tug
Seed, snow and water can freeze parts of the feeder together. If something is stuck, let it thaw before you try to separate it. Pulling on frozen plastic is the easiest way to crack or chip parts. The housing is made from ASA, a tough automotive-grade plastic built for all seasons, but any plastic is less forgiving when it's frozen.
6. Shelter it from the worst wind
A spot that's exposed to strong winter winds is harder on the feeder, the food and the birds. Wind blows seed out of the tray, adds to the wind chill that drains batteries, and can make the camera wobble in your videos. A location with some protection from the prevailing wind, such as near a hedge, fence or the side of your house, helps. Just make sure it doesn't block your winter sun.
7. Use smaller amounts of seed
Wet seed can freeze into clumps and block the tray. In snowy or wet weather, fill the feeder with less seed and top it up more often. Brush snow off the tray before you refill it.
8. Keep feeding
If you've been feeding all fall, try to keep going through the winter. When the weather is harshest, birds rely on reliable food sources, and winter is when a feeder helps them most. If you know you won't be able to refill it regularly, it's better to plan ahead than to stop suddenly in the middle of a cold snap.
What to expect in different climates
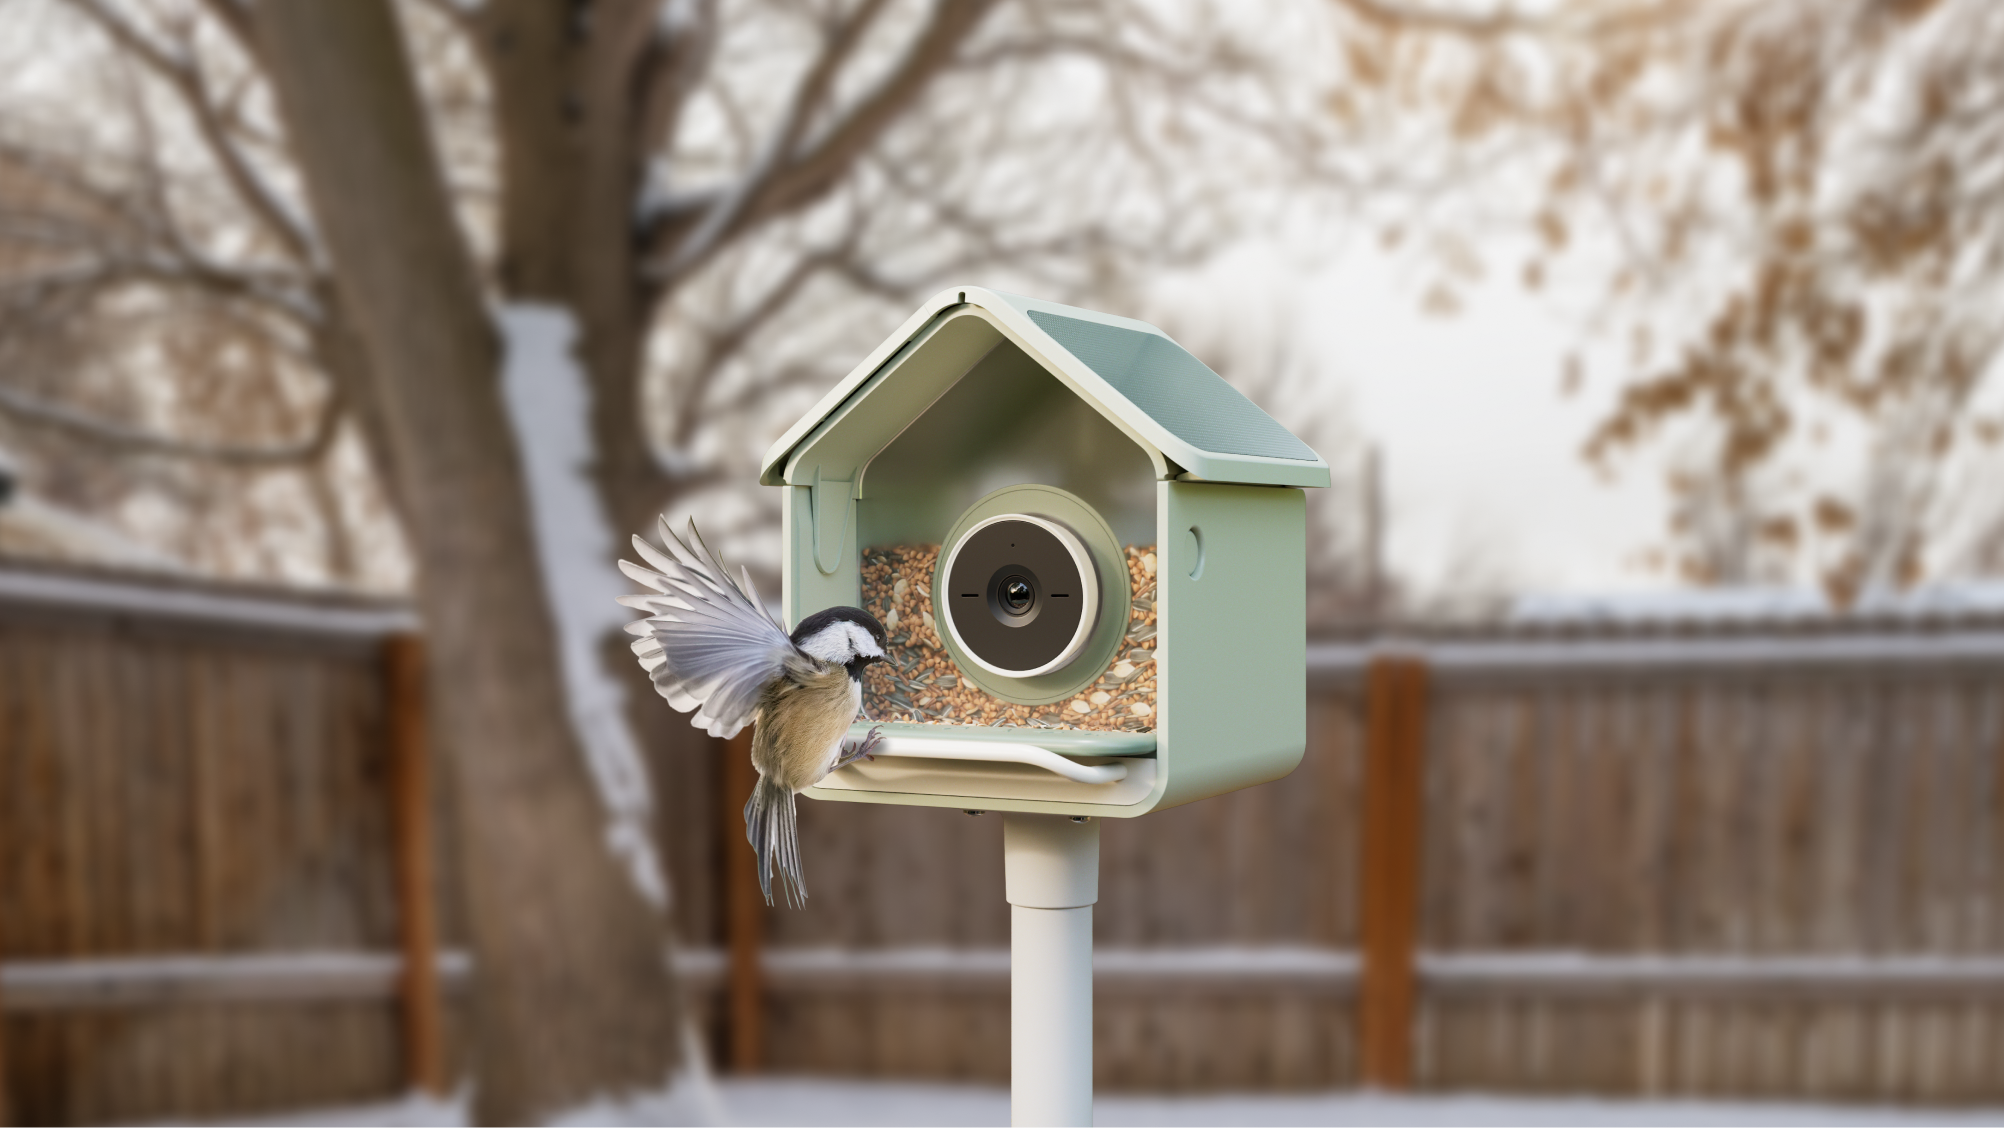
How much work winter takes depends on where you live:
- Mild winters (Pacific Northwest, the South, coastal California): You'll probably notice only small changes. Clouds may slow charging, but cold temperatures won't be much of an issue. Some owners in the Pacific Northwest find the solar roof keeps up well through winter.
- Moderate winters (Mid-Atlantic, lower Midwest, much of the interior West): Plan on charging the camera yourself occasionally during short, cloudy stretches, and check your spot for winter sun.
- Harsh winters (northern Midwest, Northeast, mountains): Plan to manage the battery more actively. Charge it yourself regularly from December through February, keep the solar roof clear after every snowfall and check the lens often.
The takeaway
Your Birdbuddy is built to handle the cold, but winter makes charging harder. Batteries drain faster, the sun is lower and snow gets in the way. Check your spot for winter sun now, keep the roof and lens clear, and plan to charge the camera indoors during the darkest weeks. With a little attention, you'll get to see all the winter visitors that make the season worth it.